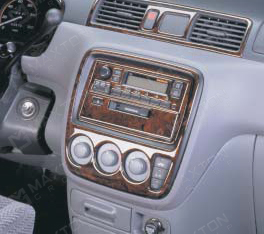
Installation Guide
7 Easy Steps
Step 1: Thoroughly clean the application area with 3M Prep Solvent 70 (or substitute) to remove any traces of silicone treatments or dirt. Repeat the cleaning process using a clean, lint-free cloth as many times as necessary to remove every trace of protectant or dirt. Follow final cleaning with an isopropyl alcohol wipe.
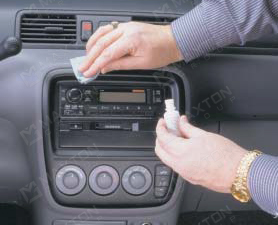
Step 2: Dry-fit each trim piece, note correct placement. Some installers find it helpful to use a pencil to outline the piece for final placement reference.
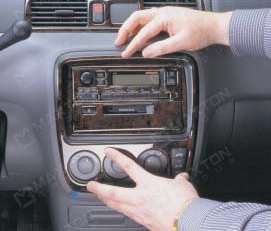
Step 3: The vehicle and Dash Applique need to be at least 70 degrees Fahrenheit for the 3M Tape to properly bond to the vehicles surface. If you are installing your dash below 70 degrees gently heat the trim parts with a heat gun, or by placing kit pieces (tape liner side down) on top of the defroster vent with climate setting on medium to high.
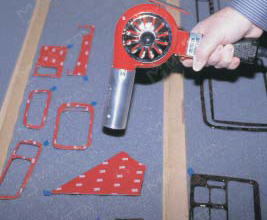
Step 4: Begin peeling back the liner of the 3M Foam Tape before applying the part. Handle parts from the edges to avoid contact with the adhesive.
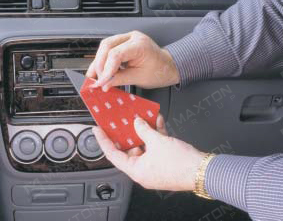
Step 5: Carefully position the part and peel off the remaining liner.
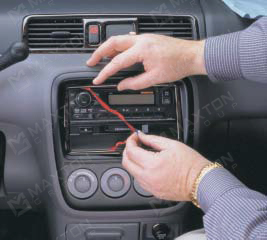
Step 6: Thoroughly press down on the entire surface of the part to ensure complete wet-out of the adhesive to the substrate.
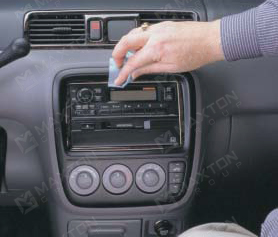
Step 7: Repeat Steps 1-6 with remaining trim pieces. Properly installed, Superior Dash Kit Appliques add a distinctive and elegant touch of class to any vehicle. Enjoy!
